The brownie is the keeper of the hearth, about which many have heard in childhood. And also everyone knows that if you appease the brownie, then prosperity awaits in household chores, and harmony will reign in the family.

A handmade figurine of a brownie will be an excellent talisman for you. And if you get down to business with your children, it will be a fun and challenging pastime for them.
In this article, you will learn how to make DIY brownie crafts, a detailed master class on making brownie crafts will help you create interesting compositions.

Brownie Kuzya
We all know this funny cartoon character, it's time to make a DIY Kuzya little brownie, so that he becomes an ideal amulet for your home.
- To do this, you will need white coarse calico, dark-colored textiles and bright for sewing a brownie's shirt.
- Cotton wool is suitable for filling.
- Also prepare beige or white wool threads, a pencil, acrylic paints with a brush, you can not do without scissors and a sewing machine (although you can sew on your hands).

Manufacturing technique
The first thing you need to start with is draw and cut models to create patterns. These are two parts for the future shirt, four of which you will sew the hands of the brownie, four parts of the pants, one for the nose, five for the head, two parts for sewing the body of the brownie and, finally, four for making the legs.

After you have cut the pieces out of the paper, trace them around the back of the fabric, which is folded in half. Cut out as many parts as you need for the job. After stitching the elements along their contours, turn out the resulting blanks.

Stuff the body parts of the future brownie with cotton, especially tightly fill her head so that it is even. Collect the parts and sew them together by hand. The circle, which is cut for the nose, is gathered around the edge, filled with a small piece of cotton wool and pulled together, and then sewn to the head.


Brownie costume and face
Draw eyes and a mouth on Kuzi's head, and then paint them with acrylics.
- Cut out details for a shirt from a bright fabric, and from a dark one for pants.
- You can sew a small button on the shirt.
- Sew them and put the pants on the toy, hemming the fabric on the stomach and legs along the bottom edge.
- Then dress up the brownie in a shirt.
- The head is sewn, the seam should be hidden so that the finished product looks neater.

Brownie hairstyle
Take yarn and wrap it around a piece of cardboard. Carefully remove the wrapped threads and place them on the paper. Sew directly on the paper in the center.
- Select one half of the stitched yarn and sew two more stitches on it.
- Cut into several pieces.
- Sew the hair to the head of the brownie (shorter at the bottom, longer at the top, placing them in a circle).
- Comb and distribute to create a parting.
- It remains only to make a twine from wool and weave bast shoes from it.
The brownie Kuzya is ready!

Brownie from threads
If you are wondering how else you can make a brownie hack, in the presented photo of crafts on the theme of a brownie you can see a brownie made of threads.


You will need colored cardboard, colored yarn, a little glue, scissors and paper.
- Draw on cardboard and cut out the eyes, legs, arms and a circle for the torso.
- Then glue the yarn onto a circle of cardboard, placing the threads from the center.
- It remains to fix the button in the center as a nose, and closer to the edges of the legs and arms.
- The basis of the blank will be a sheet of paper, transfer the brownie to it.
- You can cut a hat out of cardboard, and also decorate the craft as your imagination dictates.
- This technique is quite simple, if you are looking for an idea for making a brownie for grade 2 and younger, your child will make such a product without difficulty.

Brownie, molded from plasticine
Developing and exciting activity for a child.
Minimum materials:
- Plastic plate,
- Board and plasticine.
Take pink plasticine, parts of the brownie's body will be molded from it.
- Now you can go to the boots - they are made of black plasticine.
- Move on to the face - make the nose, as well as the eyes and beard.
- The plate will serve to paint any background on it, and then place the brownie on it.
A beautiful composition is ready!

Brownie from the bank
Surely there are empty coffee or tea cans in your home. Don't throw them away, they will make a great kitchen decoration!


In addition, a do-it-yourself mascot in the form of a brownie will bring you prosperity and well-being.
- First you need a tin can.
- Then take the flaxseed hemp with which you will need to wrap this jar.
- Treat the hemp from the edges with a heat gun so that the product is durable and does not bloom.
- Now take the threads of wool and make a brush out of them, the ends should be long.
- Tie the top of the brush to form a nose.
- The edges are the brownie's beard, they need to be fluffed up.
- Attach the resulting element to the decorated jar.
- Now add the eyes by gluing the finished plastic hell out of the nose.
- Now take the lid and wrap it with twine made from colored yarn.
- So you get a brownie hat.

You can decorate it with an artificial flower on the side. This product can be used as a box.

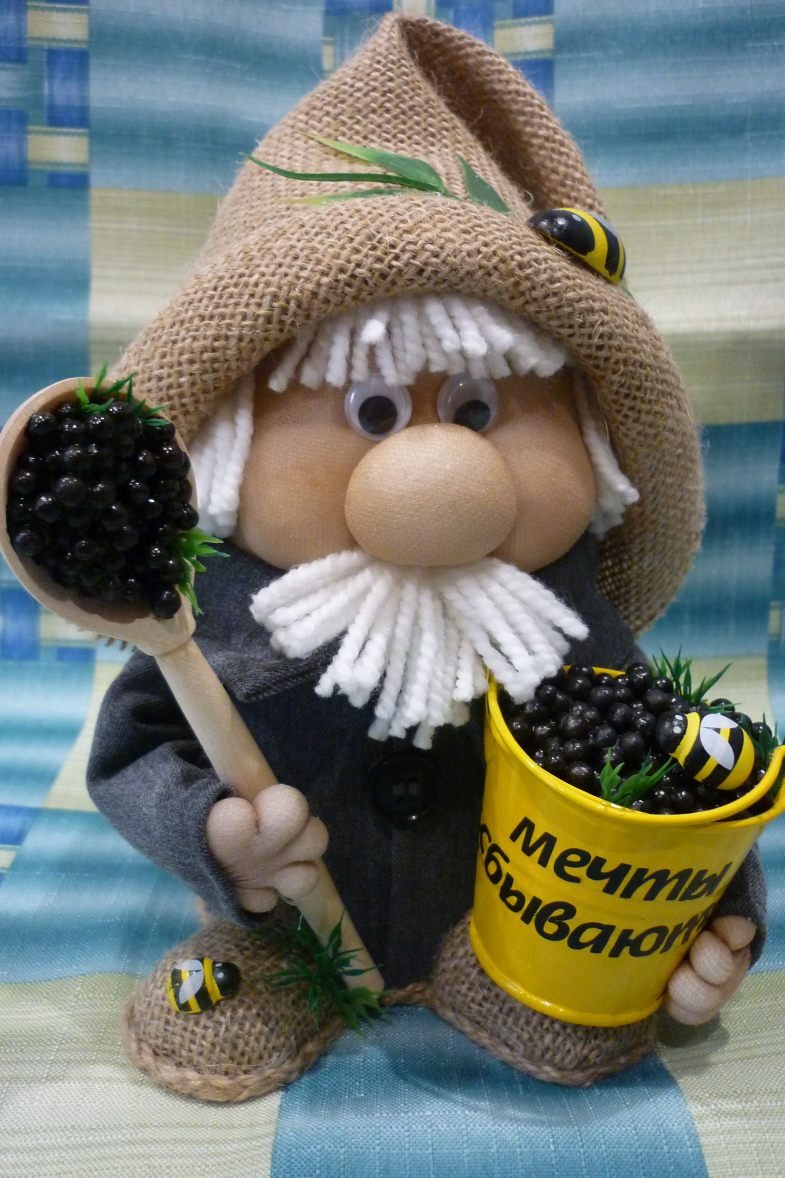
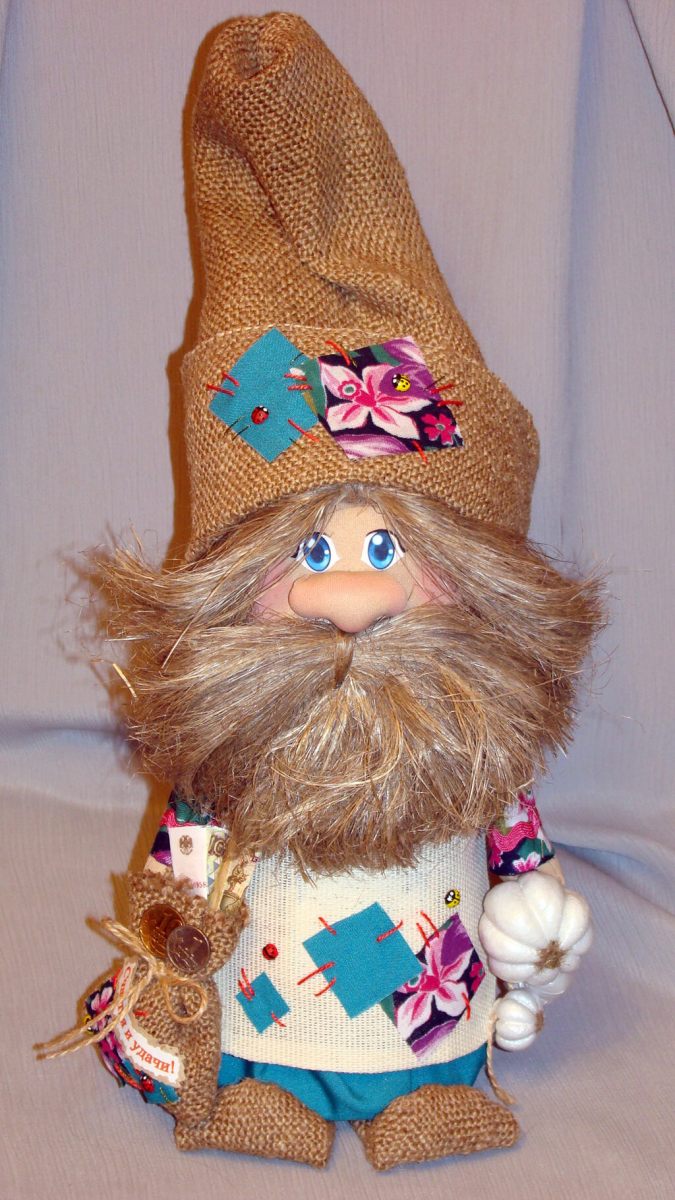
Burlap brownie
This craft is perfect as a children's toy. You will need a square-shaped piece of burlap.
- Sew a circle on it, using a seam forward with a needle, and put a piece of cotton wool in the center.
- Then pull off the thread and hide the edges inward.
- Now you need to make arms, legs and shoes.
- For this, a yarn twine is perfect, from which these parts will be woven.
- They are attached with glue or sewn with threads.

The finishing touches are the decoration of the toy. It can be a headdress, a flower, and much more.

Such interesting and beautiful products in the form of a brownie can be made from a wide variety of materials. And most importantly, this is a very interesting and useful process that will develop fine motor skills and imagination of your child, there are many techniques of very different complexity, everyone can find something for themselves.

The finished product will serve as a decoration in the room, a talisman, as well as a toy or a box if it was made from a can.

Photo crafts brownie


