Children have been showing interest in creativity since a year. They are not only interested, but also very useful for development to engage in various creativity.

There are a lot of ideas for simple crafts for kids, the main thing is to choose the right one and start creative work.

Chalk craft

You can do such a craft with a 4-year-old baby, there is nothing complicated in it. It will require:
- A piece of chalk;
- Glue;
- A stencil drawing to work with.

Operating instructions:
- You need to take chalk of different colors and grind it. The child can also participate in the process, but under the supervision of an adult.
- Now the stencil drawing needs to be spread with glue. The contours of each part must necessarily remain clear and visible;
- Now you need to pour chalk of a certain color into each element. Help your child so that he does not go beyond the boundaries of each part;
- After each part is sprinkled with chalk of the appropriate color, you need to allow the glue to dry a little. Only then can you gently shake the applique to remove unsticked material.


Craft for the little ones
Often finger drawings are used for crafts with a 1 year old baby. This is a pretty fun process for a child, in which young children can also participate.

Finger drawings can be of very different subjects. The main thing is for the parent to draw the base. It can be like a stem of a flower, and the baby will then continue drawing with a bud, or an aquarium with a fish, where the base itself will be drawn, and then the water will be depicted with finger dots and the fish will be drawn.


Many people draw the wool of a lamb with their fingers. It doesn't matter what the plot will be, the main thing is to involve the baby in the process and interest him. For drawing with fingers, PVA glue and gouache are usually mixed in some flat container to make the paint thicker and more. You can also paint with ordinary paint.

Applique with geometric shapes
Application is another type of useful and interesting work that can be taken for crafts with kids 2 years old.

You can combine business with pleasure.

For example, pre-cut several geometric shapes out of paper and call them to the child so that he repeats. And then he pasted it on a piece of paper. This is how both creative and mental work will be carried out.

You can kill two birds with one stone: make a craft and study the figures. Geometric shapes can be pasted both absolutely chaotically and making a composition out of them, for example, to assemble a house and equip a lawn near it.


Applique from pieces of paper
Applications can also be chosen for crafts for babies from 3 years old. Only the technique is already more difficult to choose: to assemble a plot from pieces of paper. You will need colored paper of different colors, cardboard for the base and glue.

Progress:
- For example, you have chosen a picture with a sea, a palm tree, a beach and the sun as a plot. First, you need to tear the paper into small pieces. For the beach, a red color is suitable, for the sun - yellow, for the sea - blue, for the sky - blue, and for a palm tree - brown and green;
- Then you need to schematically draw on the basis of what and where will be located on the sheet;
- After that, you can speak to laying out paper for each element. Make sure that the baby does everything neatly and adheres to the drawn contours;
- The craft is ready. In the same way, you can do anything, from a landscape to an animal or some kind of complex plot. For older children, you can also take pictures with a large number of colors.


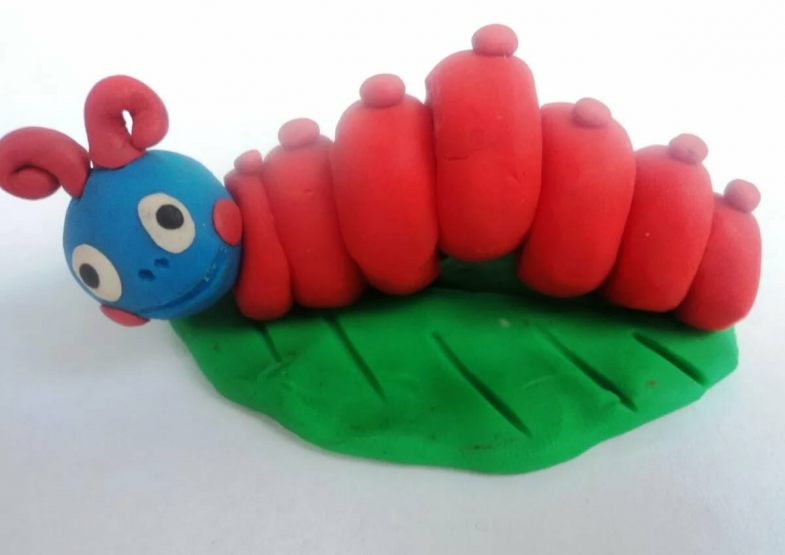
Plasticine figures
In the photo of crafts for kids, especially at the exhibition in the kindergarten, you can see that plasticine is a very popular material. And it is not surprising, because it is a fairly affordable material with a wide range of colors, which has high plasticity and develops fine motor skills.

You can mold completely different figures from plasticine. Let's try to make a bear. For this you will need:
- Plasticine brown, black, red and white;
- Plasticine knife;
- Stand for the craft.

Progress:
- With a plasticine knife, you need to cut off several parts from the material. More - for the body, smaller - for the head, even less - for the legs and ears;
- Then ask your child to roll several pieces of plasticine. The body should be oval, the head should be round, the ears should be in the form of small circles, and the legs should be small sausages;
- After all the parts are ready, you need to connect them together;
- It remains only to design the muzzle, blinding the eyes and pupils, mouth and nose.

Plasticine is not only a very soft and easy-to-work material. Due to its structure, it easily mixes with each other, expanding the already rather large color gamut. It can be used to sculpt both simple and complex shapes.


If the child is very small, you can simply let him roll plasticine balls to learn how to work with this material and develop motor skills.

Plasticine crafts for kids choose the simplest ones, gradually complicating them.


Cotton pads
Paper crafts for babies can be diversified using cotton pads in them. They take cardboard as a basis, and already on it they lay out various applications from disks. Moreover, the theme can be different: from New Year's in the form of a snowman to the world of animals in the form of a cat or a caterpillar.

Another plus of the material is that it can be found in almost every home, so if a spontaneous idea comes to make an applique, cotton pads can be easily used. And you don't have to run to the store.


As a simple craft, you can take a basket with chicks. For work you will need:
- Cotton pads in the amount of 3 pieces;
- Colored paper to make a nest;
- Paints;
- Glue;
- Feathers for decoration.

Progress:
- Together with the child, you need to cut out a semicircle from colored paper, and then several narrow strips. Then stick to the cardboard first a semicircle, and then on top of it strips, as if they were twigs;
- Cotton pads must first be painted yellow and allowed to dry. You can immediately draw eyes with a beak, or you can cut them out of paper and stick them separately;
- Then you need to glue the future chicks from cotton pads to the top of the nest, as if they were looking out of it;
- It remains only to complete the craft to the end, gluing feathers on the sides to the chicks. If there are no suitable feathers at home, you can make paws from the same cotton pads or colored paper.


Photo of crafts for kids