DIY socks are quite similar in principle of work, but in appearance they have many differences.

Such products are very often used in children's art, because the material is accessible and easy to process.
What you need to work
Regardless of the master class, the list of necessary tools will be similar, because the crafts will be almost the same for completing the work:
- Socks of different color, structure and thickness of material;
- Scissors;
- Multi-colored threads and a needle;
- Material for filling crafts;
- Pins if you need to fix any details.

In addition, there are universal tips on how to make sock crafts. They are time-tested and suggested by experienced craftsmen:
- If you are making some kind of animal out of socks, it is better to take a light shade for the face and head so that it does not merge with the body;
- When sewing, you also need to take into account the space for the seams, so all the details need to be cut out a little more;
- The threads should be in tune with the socks, otherwise the seams will be noticeable;
- If toys are sewn from the socks, which are then planned to be presented to children, you should also take care of the safety of the parts. It is best to sew them on, and not glue them, and refuse small parts altogether.

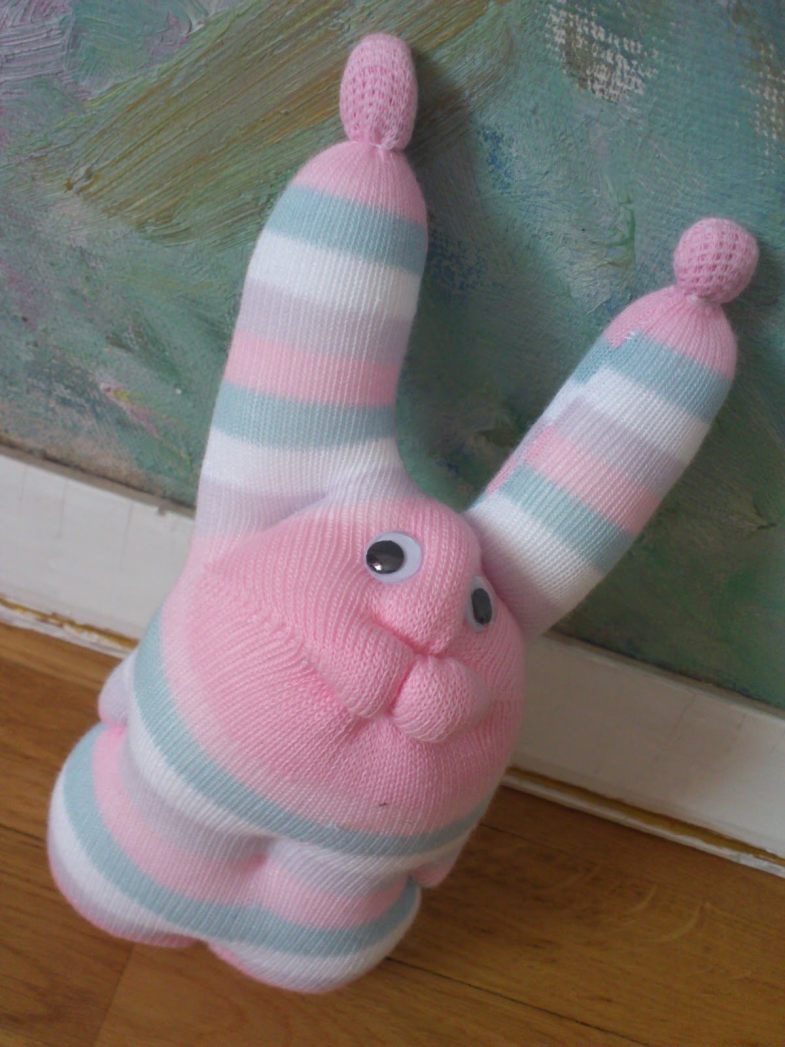
Craft kitten from socks
In the photo of sock crafts, you can see that animals are especially popular in products. You can, for example, sew a beautiful kitten, the creation process of which will not take much time.
- For sewing a cat, you will need two socks, best of all in different shades or striped. You can take materials of different structure, for example, terry. This will make the toy more interesting;
- Several parts need to be cut out using a stencil. The toe is cut off from one, and two small longitudinal cuts are made for the legs;
- The second sock is cut into three parts: the middle is cut out for the head, it must be cut out immediately with the ears, the upper and lower parts will remain for another craft;
- Now the first part with cutouts for the legs is stuffed and sewn, behind which the head and tail are also formed;
- It remains only to design the muzzle by sewing on the eyes and antennae to the animal.


Craft a snowman from socks
One of the most repetitive and easy-to-do is making a snowman from a sock. You will need only two socks, one of which will go to the toy itself, and the other to decorate it.

Stages of work:
- From the toe you need to cut off the part where the heel is located. Divide the remaining sock into two different parts, leaving a smaller gap for the top;
- Fill both parts, separating them with an elastic band;
- If the toy is not worth it when stuffing, you can add a weighting agent in the form of cereal to the lower part;
- The top of the snowman must be carefully sewn up, leaving a small tail of the fabric. It will then be closed with a cap;
- The second sock will be used to create a cap and scarf. It is better if it is not white, but red, for example. When the scarf and hat are done, they need to be put on the toy;
- It remains only to arrange the eyes, nose and mouth.

Christmas wreath
For sock crafts for the New Year, you can take an idea with a Christmas wreath. You will need several colored wreaths, decor in the form of beads and cones, satin ribbons.

Stages of work:
- The upper part is cut from the socks so that they can be put on the form;
- The base for the wreath can be made from old newspapers by twisting them tightly into a bundle. Then you should thread the tourniquet through the socks, and only then close it in a circle, pulling the socks over the junction;
- A wide satin ribbon is tied from above in the form of a bow, the wreath itself is decorated with cones, beads, and various sequins. By the way, socks can be colored as well as green. Then you get a classic Christmas wreath.


Piglet
Making a piglet from old socks will not take much time, but it will captivate any child for an hour. In addition, a minimum of materials will be needed:
- A pair of pink socks;
- Buttons or beads for the eyelet and patch;
- Filler;
- Ponytail wire.

Stages of work:
- The part where the heel passes is cut from the toe. The cut edge is sewn together to form a bag from the sock. Two details are done;
- One piece is half filled with filler;
- Now you need to tighten this blank and sew with an invisible seam. It must be inserted into the blank that has not been filled.
- From the second sock you need to cut off the elastic, fold in half and cut into two parts;
- Now these two parts need to be sewn along the edge. These will be ears;
- The ears are sewn to the front of the pig;
- Now you need to design the muzzle. Two beads or buttons will be eyes, and two will be nostrils for a patch;
- Legs need to be made from the scraps, stuffed with padding polyester and sewn to the body.

Bear
To create a teddy bear, you need two socks of different colors. You can take more of them - the little body will be sewn from it, the second will go to create the muzzle and apron.

Stages of work:
- According to the pattern, a head with ears is cut out, then a body with lower legs. The forelegs are formed from the remains;
- Now you need to fill every detail with padding polyester and stitch it;
- Sew the oval part to the head - you will need to embroider the nose and mouth on it; The next step is to assemble the toy.
- You need to sew all the parts to each other one by one.
- In order for all of them to be at the same level, it is recommended to pre-try on the part and secure it to the body with a pin;
- Now you need to complete the muzzle by sewing on the eyes. The bear is finished.


Caterpillar
It is definitely impossible to invent a simpler toy than a caterpillar made of socks.

You will need threads, a long sock, filler and beads to decorate the eyelet.

The sock is divided into as many parts as possible.
- Each is stuffed with filler and carefully tied so that the caterpillar consists of small balls.
- At the end, a small tail remains, which you just need to carefully tie.
- The part that was filled first will be the beginning of the caterpillar.
- On it you need to make eyes, if you wish, make horns from chenille yarn and wire.
- You can take a simple wire and wrap it with threads, but chenille yarn, due to its structure, will look more beautiful.

By the way, for the caterpillar, you can take not only socks or knee-highs, but also tights. This will make the toy even longer and more interesting.

Photo of crafts from socks


